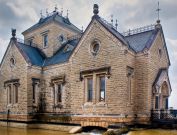
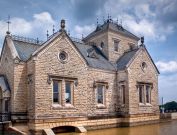
The original reason for HDR is the contrast range of the digital sensor (or film) is not as great as our eyes. When you look at, say a landscape, you can see the highlights (Sky and clouds) and the shadow detail (Under trees, in the shadows) with out too much of a struggle. Your camera is not able to adjust the ISO based on available light under a tree as your eye is capable of. HDR can also solve the indoor photography problems with windows being blown out and shadows being too dark and/or you are not able to manage the issues with flashes and equalizing the indoor/window exposure situation. I have seen some HDR shots that look nice and normal and I have seen some that look alien and surreal. HDR is not for all situations, say an HDR of a sporting event may not turn out if you used multiple pictures.
HDR of windy trees looks weird and may mess up the project. HDR of your fish tank during feeding is not a great plan either. Stuck In Customs has some good examples of normal HDR and alien HDR, It looks like he may use single photo HDR technichs at times as well. Flickr has plenty HDR photos to review as well. Watch the video at the bottom.
The Problem
You place the camera up to your eye and take a shot, the captured image is not as it was in real life and the contrast range is too small. If this is a lad scape picture, one of two things happen to the photo in most situations. The camera either meters and exposes for the Sky or for the dirt/rocks/buildings and you end up with a blown out sky or deep dark areas with no detail.
The Fix
Using the bracketing +/- exposure function in your DLSR can allow your camera to aid in correcting this issue. It will take at least three (depends on your camera) pictures in a row (use a tripod or get good at being still). Some cameras can be programed to your style or bracketing needs for more bracketed pictures. Each picture will be exposed more or less from the measured exposure the camera should have taken if not in bracketing mode. It does this by changing the shutter speed faster and slower so more or less light is captured. You need to be in Aperture Priority mode on most cameras. If the “correct” (correct as far as the in camera meter thinks) exposure was f4 1/250, when in bracketing mode the camera will speed up and slow down the shutter to obtain the different levels of exposure.
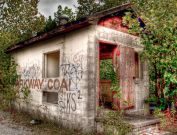
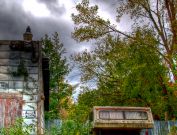
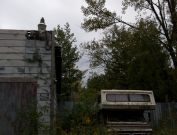
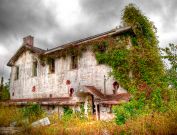
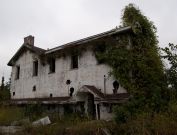
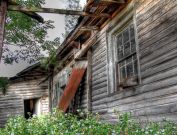
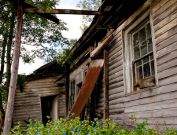
You end up with three (or more depending on your camera) exposures. Ranging from Blown out sky and detailed dark areas to perfect skys with black dark areas. These can then be fed into some HDR software and “combined”. This will combine the pictures and try and give you the same feel on that sunny day high contrast view in digital form. Using Photomatix is simple enough for me. I cannot speak about other software packages as I have never used them. Nor do I have the experience necessary to tell you what’s best. Using Photomatix you can get normal photos to the surreal photos. I have included some flat before pictures as well so you can see the “before” HDR and clean up of a RAW photo
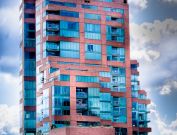
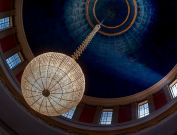
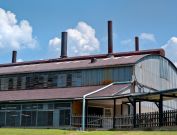
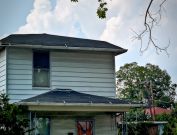
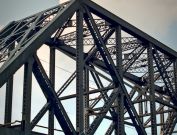
Below are some of my HDR pictures. Normal to surreal. I still have plenty to learn.
